ipad で開発するときに github の codespace を使っていたが、リポジトリごとにセットアップするなど、が面倒になったため、tailscale と code-server を用いて自宅の PC 環境に接続、開発できるよう設定した。VPN 経由で code-server を起動したサーバーにブラウザ経由で接続することで、サーバーの環境で開発ができるようになる(ここではサーバー=自宅の PC のこと)
他にも VS Code Remote Tunnels という VS Code サーバーへトンネルするような機能もあったが、PC 自体に接続したいときもあったので、VPN 経由で接続する方法にした
あと、昨今のコーディングエージェント使って開発する時ローカル LLM を試す場面も出てきため(自宅の PC をサーバーにするしかない)、インターフェイスとして便利でエディタ経由で触れるようにした
環境
- ubuntu: 22.x
- ipadOS: 26.x
- tailscale: 1.96.x
- code-server: 4.115.x
tailscale 設定
install
サーバー側にて実行
curl -fsSL https://tailscale.com/install.sh | sh
...
Installation complete! Log in to start using Tailscale by running:
sudo tailscale upsudo tailscale up
To authenticate, visit:
https://login.tailscale.com/a/fxxxx
ブラウザから適当にアカウントを作成(login して)、connect をクリックするなどして進めていく
デバイスの追加画面で、ipad を選択。QR コードをスキャンすると app store で tailscale インストール画面が開くのでインストール
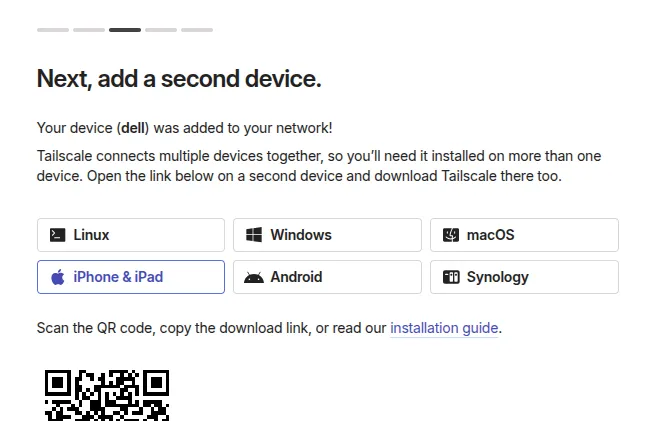
ipad 側も適当に進めていく(vpn 構成の設定、ログインまでやる)と、connect と出るので接続
これで ipad の方に PC の方で接続設定したデバイス(dell)がでてくる。起動状態や ip などが確認できる
https を有効化する
手順のみ示す。code-server にて web view を使う(codex の認証など)際に https 接続でないと chrome でエラーが出る(ブラウザ画面がブランクになる)ため DNS 経由で接続するようの設定をする
- tailscale の設定画面より、DNS タブを選択(https://login.tailscale.com/admin/dns)
- 設定下部にある MagicDNS を有効化 DNS の設定。machine 名(サーバー)などから生成される
- 更にその下にある HTTPS Certificates を有効化。証明書は Let;s Encypt が用いられる
- tailscale の DNS(MagicDNS で生成したドメイン)がパブリックな台帳(Public Ledger)へ登録されることに注意
- machine に TLS 証明が割り当てられる ↓コマンドで証明書を取得できる
sudo tailscale cert {machine-name}.taileb0ad0.ts.net
Wrote public cert to {machine-name}.taileb0ad0.ts.net.crt
Wrote private key to {machine-name}.taileb0ad0.ts.net.keyhttps での接続の際、秘密鍵ファイルなどを逐一生成・指定するのは手間なので tailscale serve コマンドを用いる
https リクエストここでは 443 を code-server のポート 8080 に割当している。実際にはポート番号などは推測されないように変えるといい
sudo tailscale serve --bg --https 443 http://localhost:8080
Available within your tailnet:

https://{machine-name}.taileb0ad0.ts.net:443/
|-- proxy http://localhost:8080

Serve started and running in the background.
To disable the proxy, run: tailscale serve --https=443 off
手順参考
code-server
vscode をブラウザで動作させる OSS ツール。リモート開発用としてつくられたとのこと
install
curl -fsSL https://code-server.dev/install.sh | sh
...
Installing v4.115.0 of the amd64 deb package from GitHub.
+ mkdir -p ~/.cache/code-server
+ curl -#fL -o ~/.cache/code-server/code-server_4.115.0_amd64.deb.incomplete -C - https://github.com/coder/code-server/releases/download/v4.115.0/code-server_4.115.0_amd64.deb
######################################################################## 100.0%
+ mv ~/.cache/code-server/code-server_4.115.0_amd64.deb.incomplete ~/.cache/code-server/code-server_4.115.0_amd64.deb
+ sudo dpkg -i ~/.cache/code-server/code-server_4.115.0_amd64.deb
Selecting previously unselected package code-server.
(Reading database ... 278807 files and directories currently installed.)
Preparing to unpack .../code-server_4.115.0_amd64.deb ...
Unpacking code-server (4.115.0) ...
Setting up code-server (4.115.0) ...
deb package has been installed.
To have systemd start code-server now and restart on boot:
sudo systemctl enable --now code-server@$USER
Or, if you don't want/need a background service you can run:
code-server
Deploy code-server for your team with Coder: https://github.com/coder/coder
自動起動させたいため、systemd にいれておく
sudo systemctl enable --now code-server@$USER接続方法の設定、確認
vi ~/.config/code-server/config.yaml外部からの接続許可のため
bind-addr: 127.0.0.1:8080 の行を
↓などと変更
bind-addr: 0.0.0.0:8080
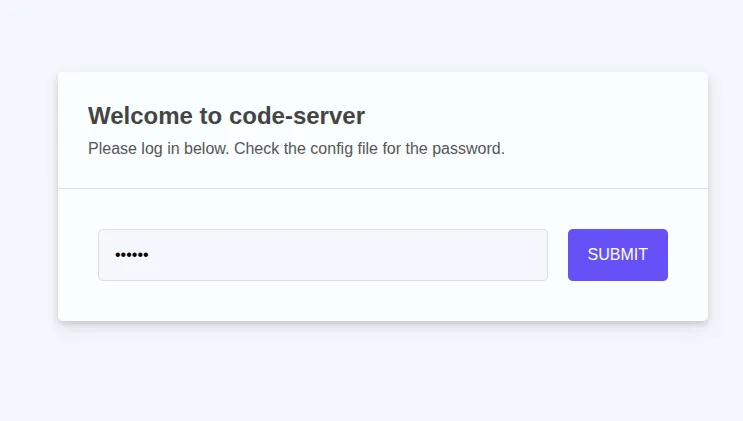
接続時の password も記載されているので控えておく。接続時に入力を求められたら config.yaml に書いてあるものを入力すれば OK
接続
サーバー側で tailscale、code-server を起動した状態で ipad の tailscale アプリより、該当デバイスの MagicDNS をコピー。ブラウザにて{DNS_name}:443 で接続すると以下のような code-server の接続画面がでてくる
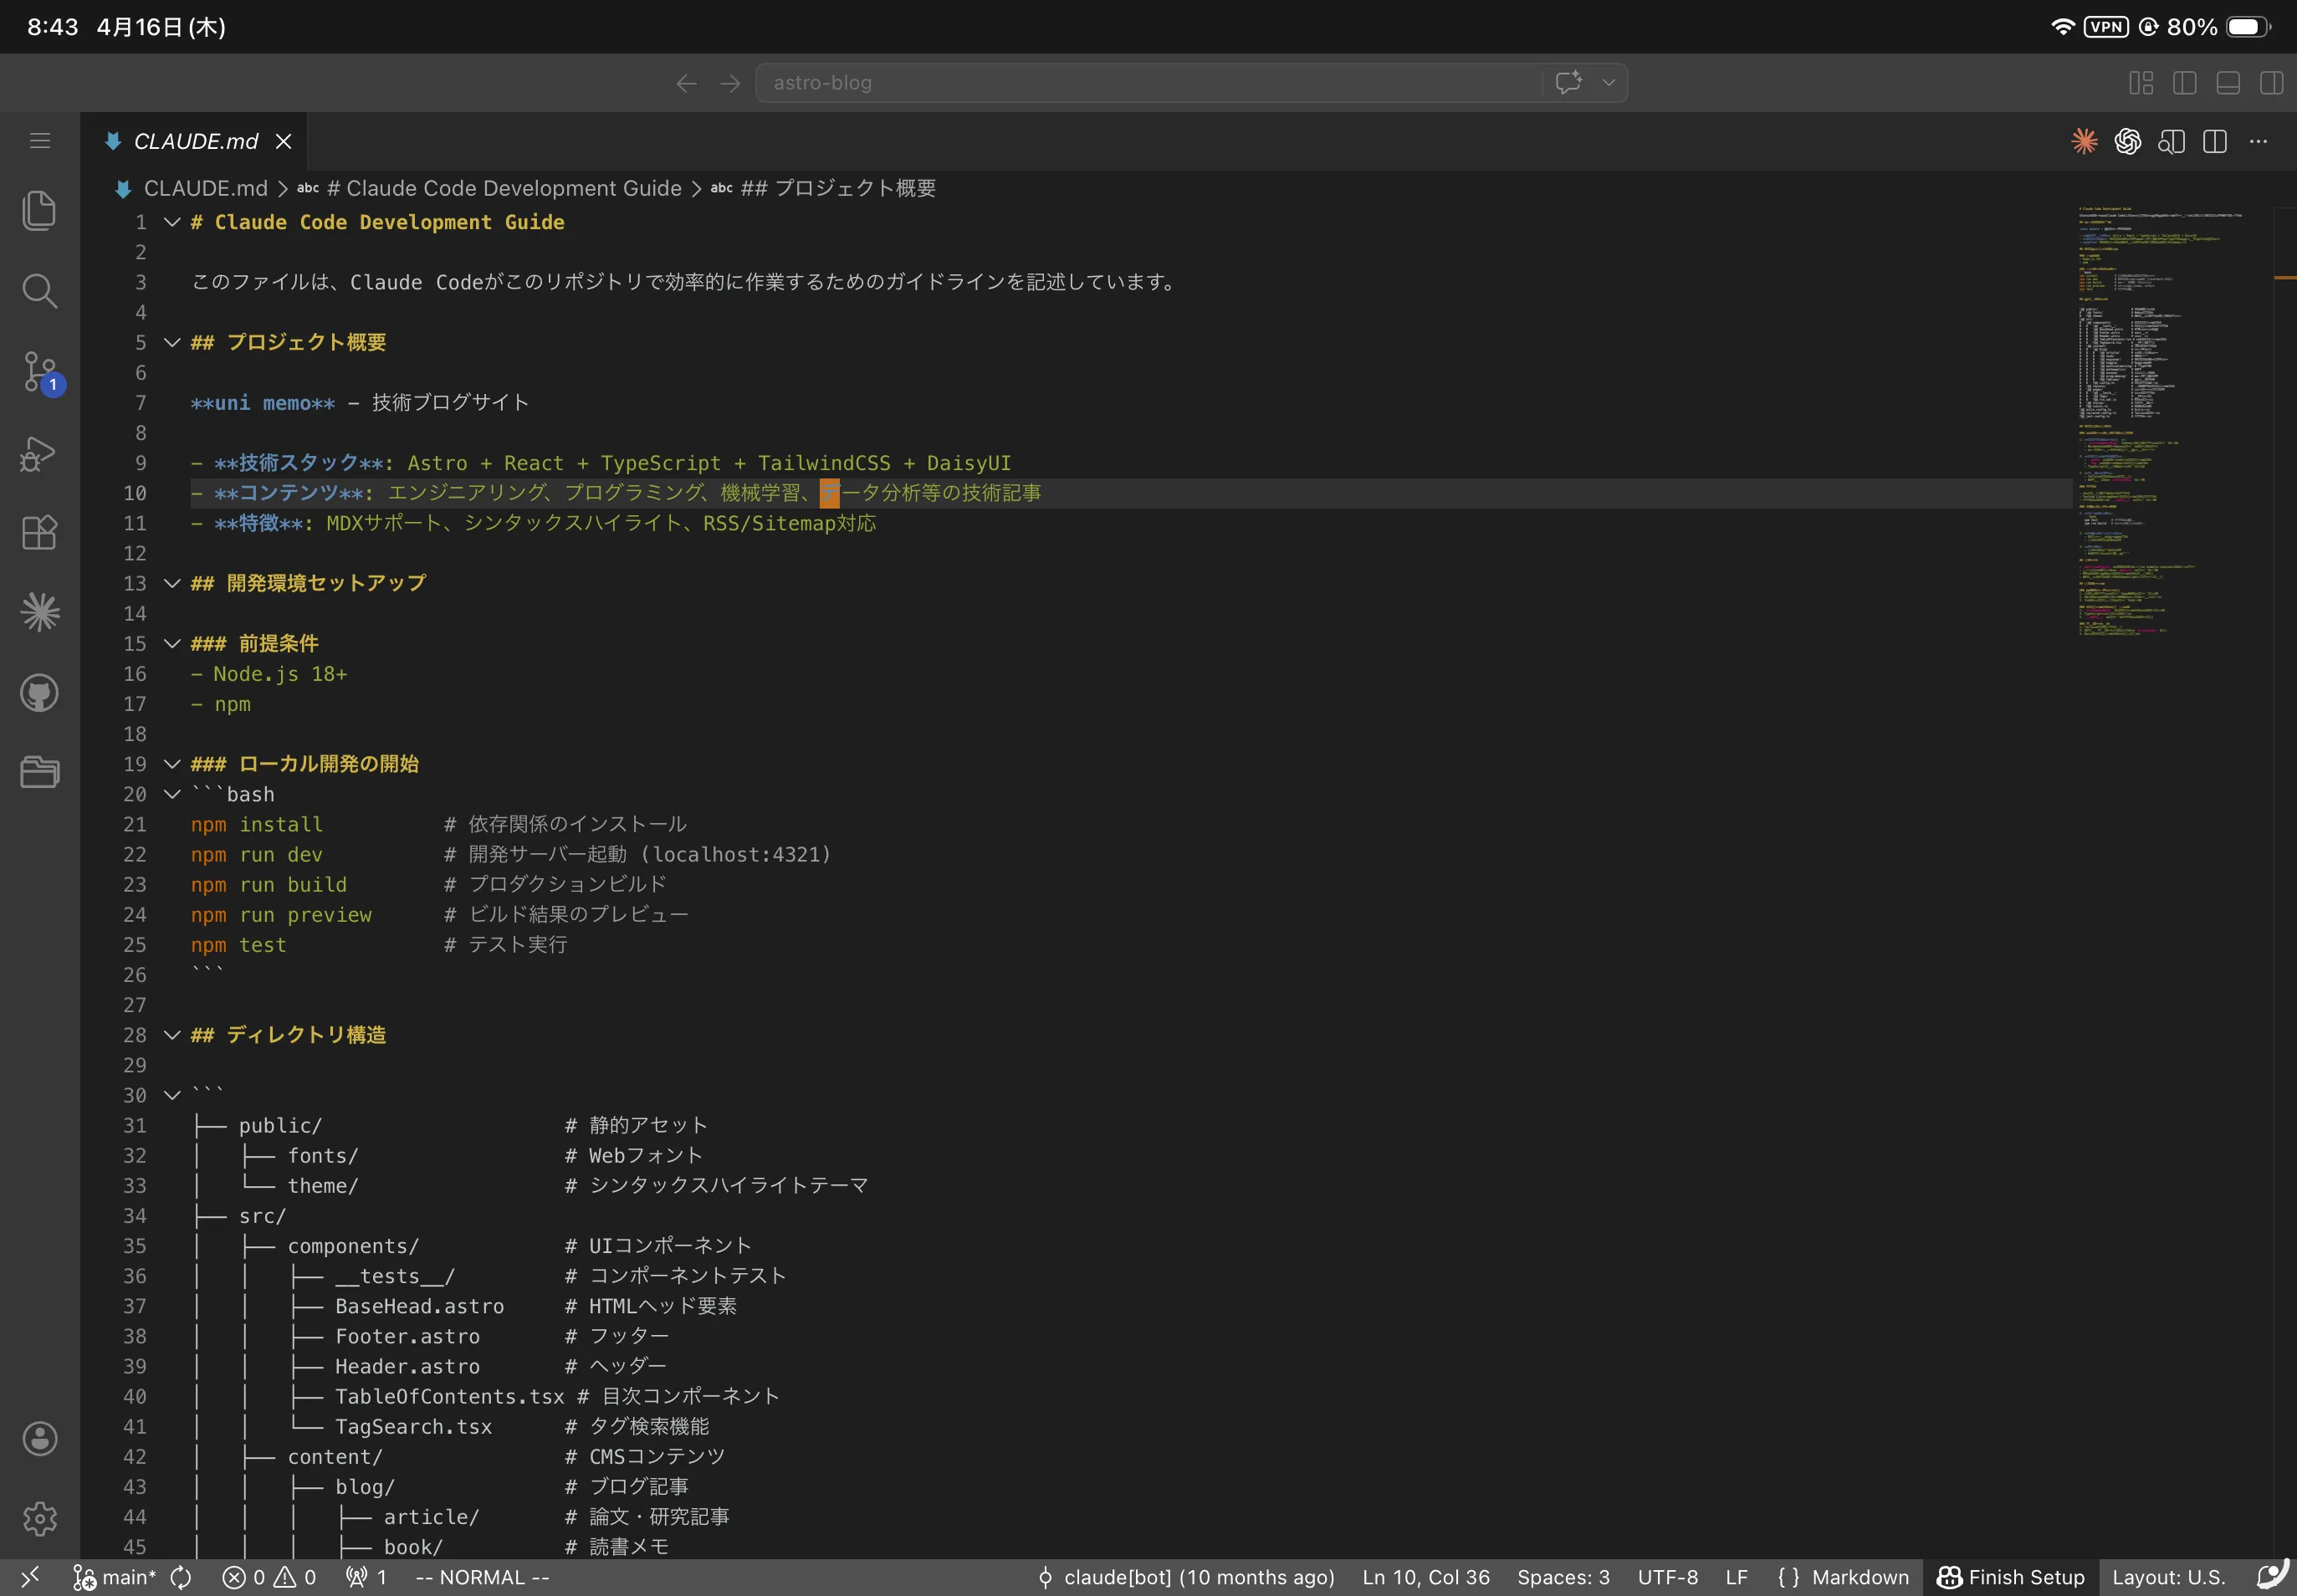
ログイン後の画面はこんな感じ
トラブルシューティング
ターミナル上の文字が潰れる
ipad にて、エディタのターミナルを立ち上げたら文字が読めなかった。設定で直る
cmd+shift+p のコマンドより、>preference open user settings を選択
設定項目の、Terminal › Integrated: Gpu Acceleration を off にする
リモート接続
ipad から PC 画面を見たり触ったりしたいとき
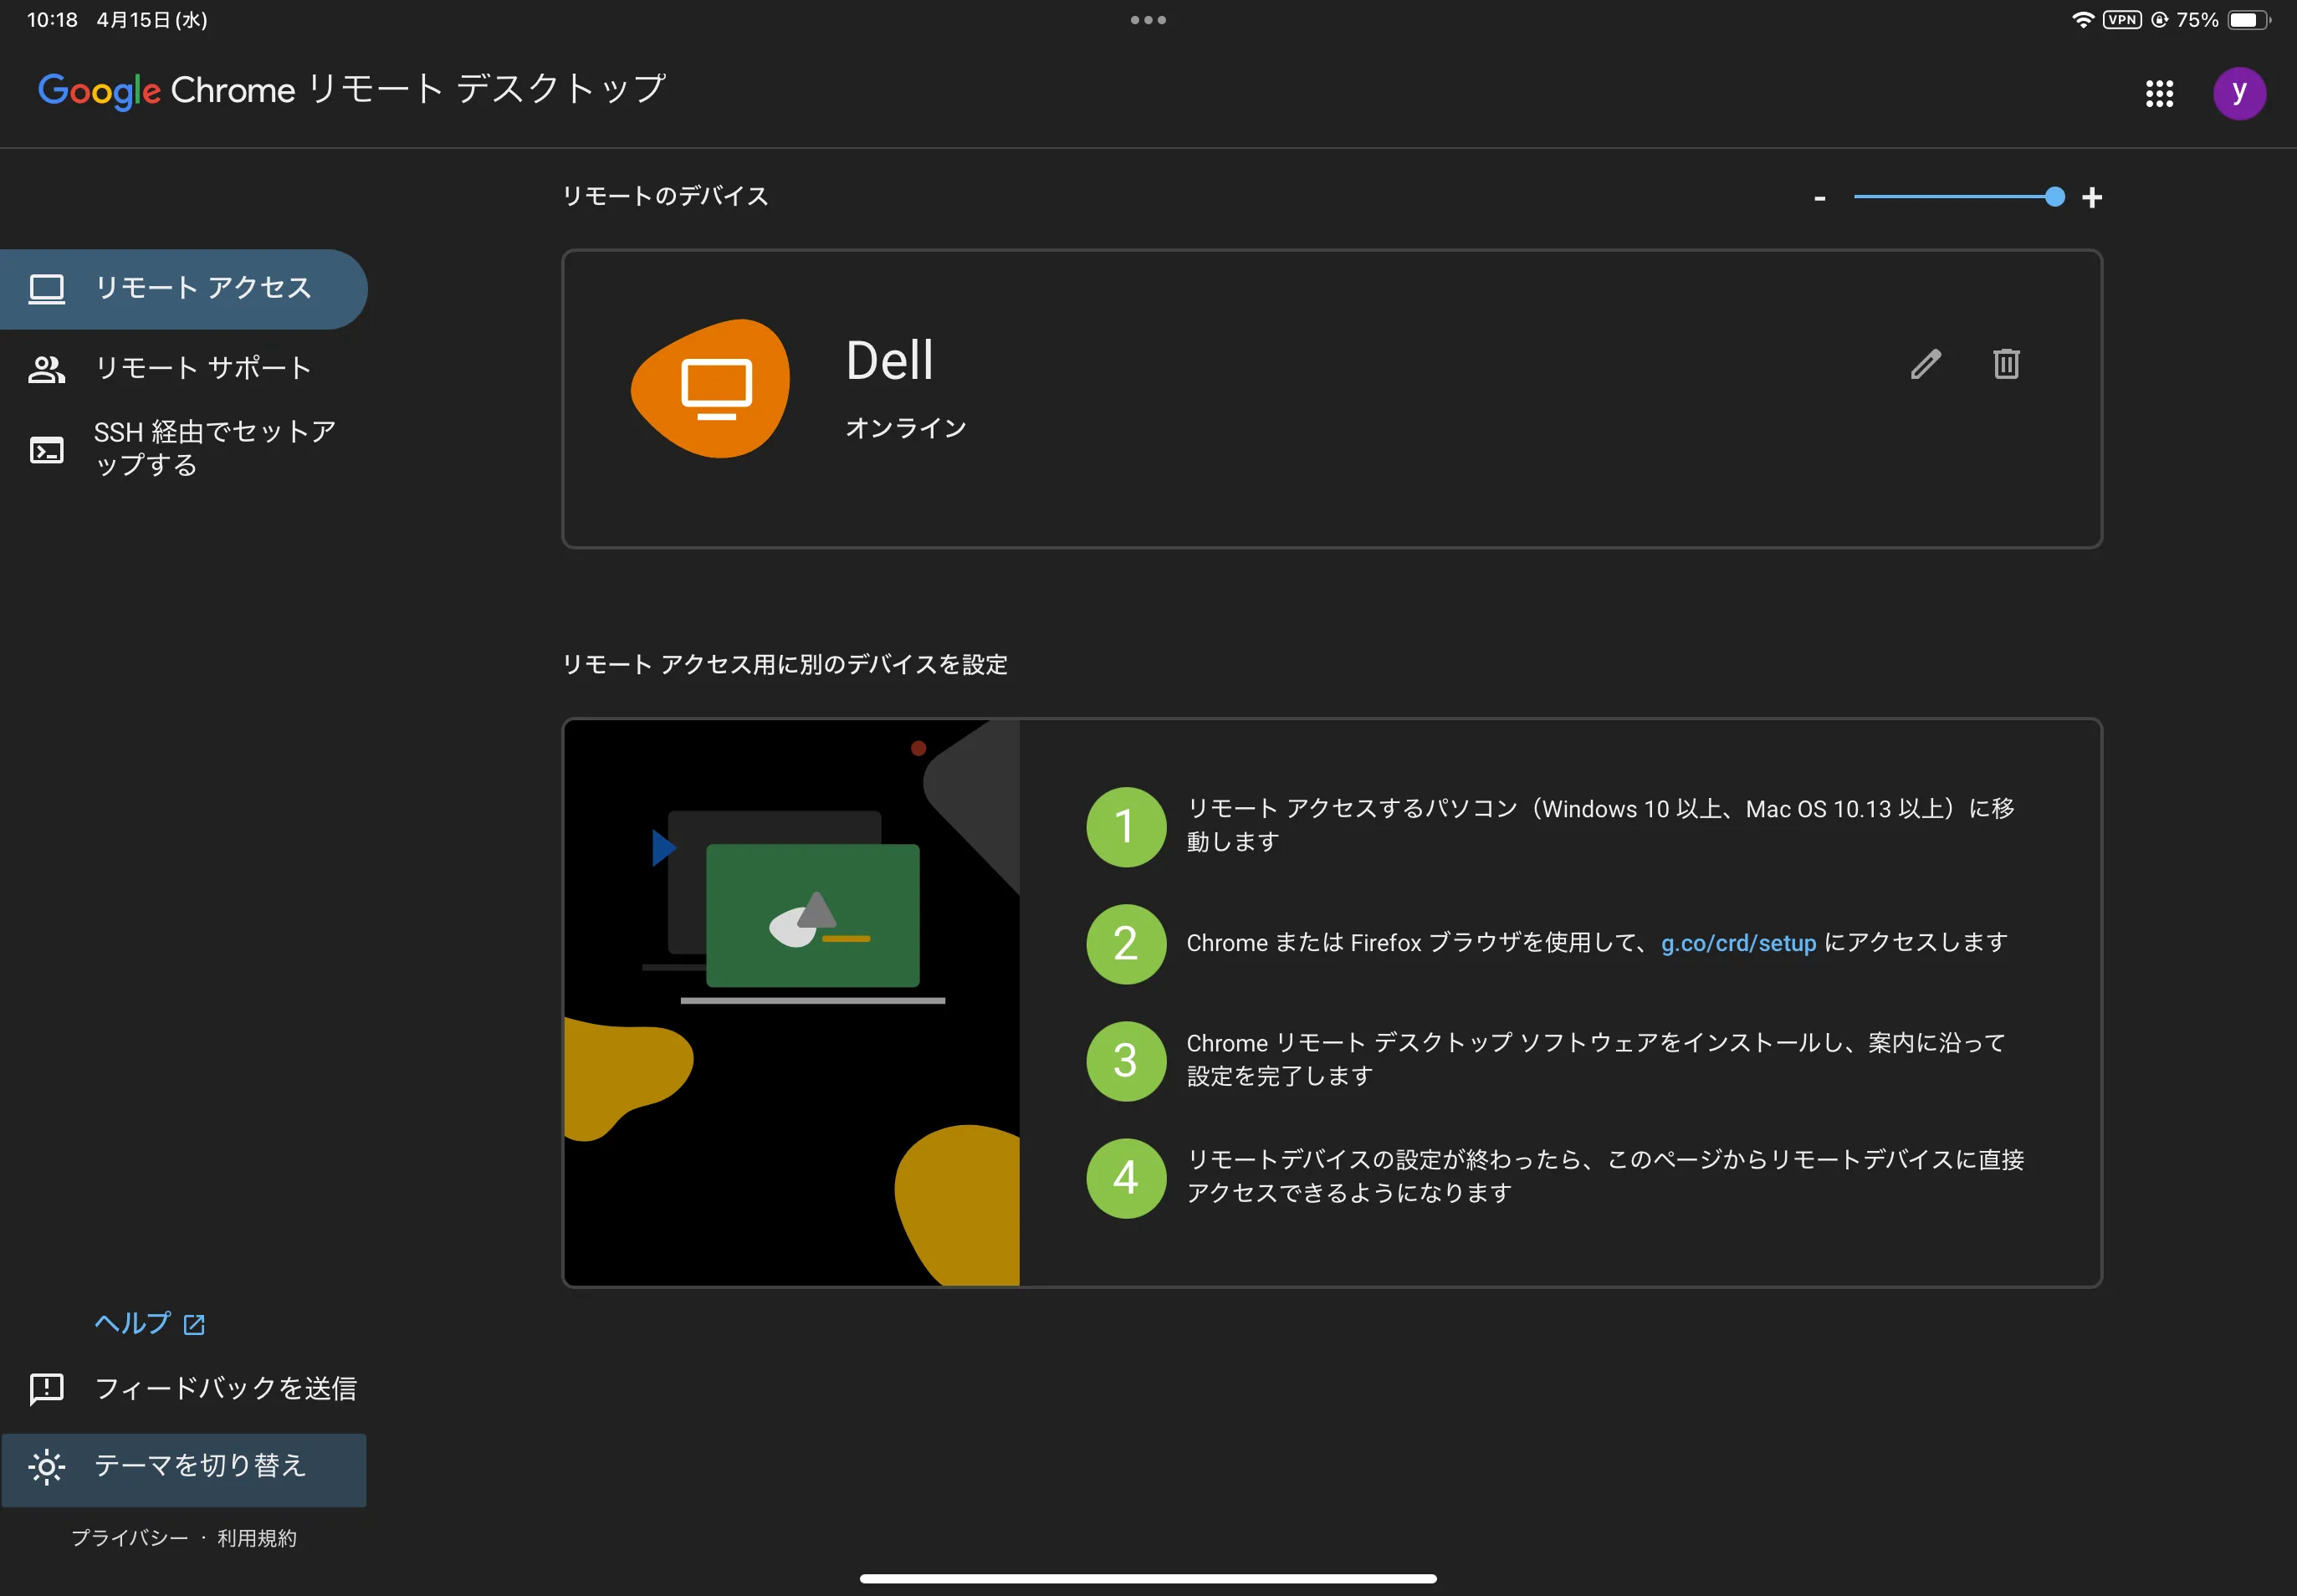
chrome remote desktop
遅いので諦めたけど手順は残しておく。グーグルアカウントにて設定することで、P2P or グーグルサーバー経由で接続される
↓のサイトから色々な設定を確認できる https://remotedesktop.google.com/headless
サーバー側
sudo apt install ~/Downloads/chrome-remote-desktop_current_amd64.deb DISPLAY= /opt/google/chrome-remote-desktop/start-host --code="4/xxxx-xxxx --redirect-url="https://remotedesktop.google.com/_/oauthredirect" --name=$(hostname)
Enter a PIN of at least six digits:
...
Host started successfully.
PIN として設定する 6 桁の数値を入れて、成功すれば OK
ipad 側
https://remotedesktop.google.com/headless
にて、サーバー設定をした google アカウントで開くと、サーバーが接続先として表示されるのでそこからアクセスできる
window remote server
定番のやつ
サーバー側
PC の Settings->Sharing を ON に
さらに Remote Desktop を ON にする操作したいので Remote Control も ON にする。ipad から接続する際、必要になるため Authentication の値を保持しておく
ipad 側
App Store から Windows App Mobile をインストール
- アプリの右上の「+」ボタン →「PC」
- PC 名に MagicDNS を入力
- 資格情報
毎回確認してもいいが、「資格情報の追加」を選んで、先ほどサーバーの設定画面で確認した
Authenticationを保存しておくと次回から認証をスキップできる - 保存されたデバイス、にタイルが表示されれば OK
rustdesk
サーバー側
最新バージョンはこちらから確認 https://github.com/rustdesk/rustdesk/releases
wget https://github.com/rustdesk/rustdesk/releases/download/1.4.6/rustdesk-1.4.6-x86_64.AppImage
chmod +x ./rustdesk-1.4.6-x86_64.AppImage
./rustdesk-1.4.6-x86_64.AppImagesettings より security 項目よりパスワードなどを設定、メモしておく 接続するためにはアプリを立ち上げっぱなしにしておくこと
ipad側
rustdesk のアプリを app store からインストール。
アプリ立ち上げ時に出てくるIDと書いてあるフォームより、tailscale にあるサーバー側の IP アドレスを入力すると接続できる
参考
- https://www.reddit.com/r/iPadPro/comments/12omm8o/best_remote_desktop_app/ リモートデスクトップ接続用アプリ参考